I've been doing some extensive research on the different methods of dyeing yarn & want to share a few with you all. The 3 methods I have tried are squirt bottles, stove-top & bowls. I'm showing you these methods with kool-aid but I've done them with professional dyes as well. They work just as well except you have to add vinegar to the water bath & the dye liquid.
Squirt Bottle Method
Supplies
*animal fiber yarn (I used wool)
*cling/saran/plastic wrap
*gloves (if you don't want colored fingers)
*tablecloth
*kool-aid packets (for this yarn I used 4 envelopes of Black Cherry & 4 of Grape)
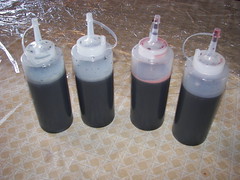
*squirt bottles-1 for each color you're using (I got mine at Wal-Mart for $.97, you can use anything that will allow you to squirt a small stream)
*medium to large bowl

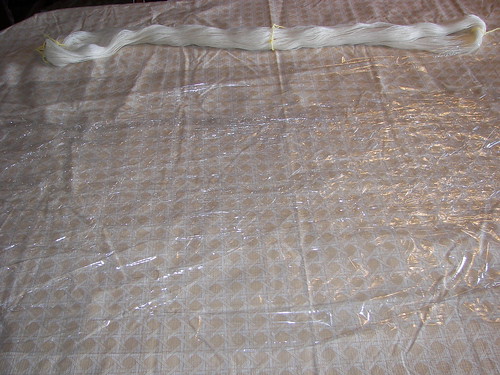
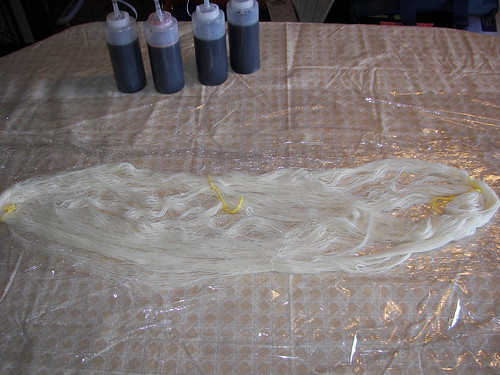
*Prepare your work area by placing a tablecloth down (or if you don't have one handy, sometimes newspapers work). Layout your yarn to use as a measurement for how long you need your plastic wrap to be. Put down layers of plastic wrap overlaping the edges. I lay down 2 next to each other & place a third overtop both of them. I then pat that one down to make sure they are clinging to each other. I put 2 more layers down & pat those too. You just wanna make sure the kool-aid solution won't leak out when your dyeing your yarn.
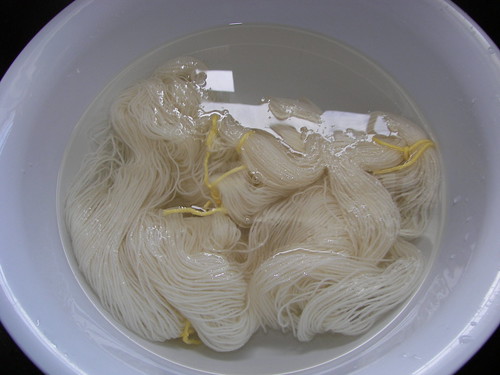
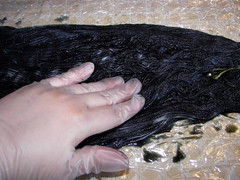
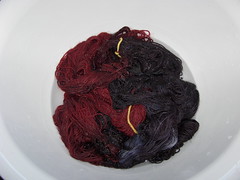
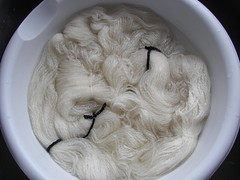
*Using lukewarm water, fill your bowl up enough to cover your wool. Place wool in the bowl & hold it down to get all the air bubbles out of it. The more air bubbles you get out, the more color your yarn will absorb. Let it soak for about 20 minutes.
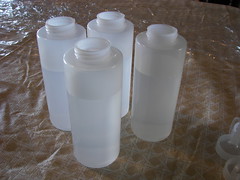
*Put 1 cup of water in each of your bottles & add your kool-aid. I used 1 cup of water to 4 envelopes of kool-aid for this method. (Feel free to experiment with the # of kool-aid packs. The more packs the deeper the color as shown on this site.) I filled 2 bottles for each color as I wasn't sure how much I would need. I ended up using only 1 bottle of each color.
*Once your yarn has finished it's soak, gently squeeze the water out of it. Place it on your plastic wrap & spread it out a bit.
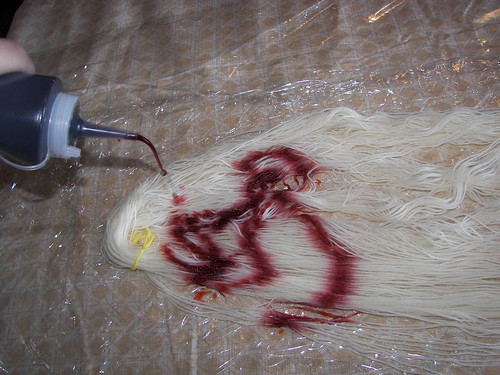
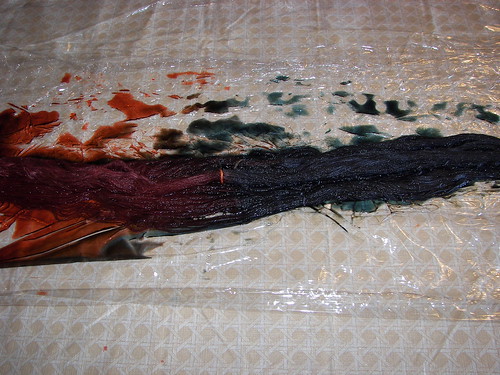
*Now put on your gloves, if you haven't already. Here's where your creativity comes into play. Decide how you want your yarn to look, where you want your colors. I did half the yarn with Black Cherry & the other half with Grape. You could do little bits of color or all one color. I started with the Black Cherry & started soaking up one end.
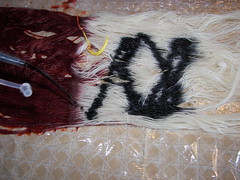
*You might have to pat down the spots that didn't get any color. If your yarn is thick, lift it up to make sure the yarn underneath got color too.

*Once you have this section done, repeat for the other section & color.
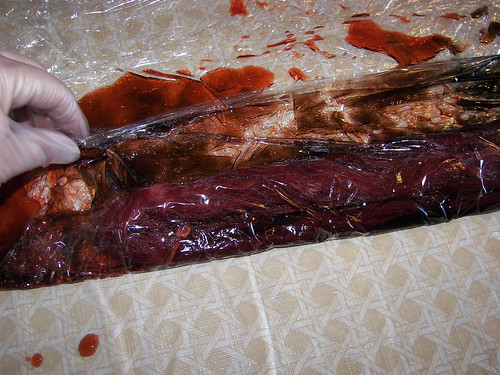
*Now lift the top side of the yarn & place it on top of itself to make it smaller. Or just squish it together. Either way works.
*Pull the bottom end of the plastic wrap up & onto the yarn.
*Fold the ends in (kinda like how they do with Subway sandwich paper)
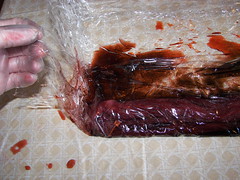
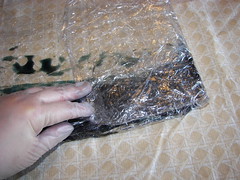
*And finally pull the top of the plastic wrap down over the yarn & pat down to seal it.
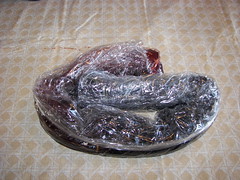
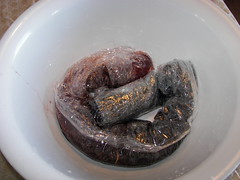
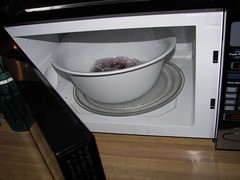
*Place it into a bowl & put it in the microwave. Microwave it for 4 minutes, let it rest for 2-3 minutes, repeat twice.
*Let it cool. The longer you let it cool, the more vibrant the colors will be. I usually can't wait too long & end up rinsing after about 2 to 3 hours. Whatever temp your yarn is, is what temp your rinsing water should be. Now take the plastic wrap off & start rinsing your yarn. Try not to smoosh your yarn too much. Felting occurs from handling/smooshing & not from the hot temp of the water. Your yarn is ready when the water is clear.
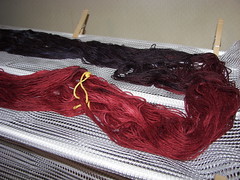
*Squeeze the water out of your yarn & put it on a drying rack or hang it with a bowl underneath to catch the water.
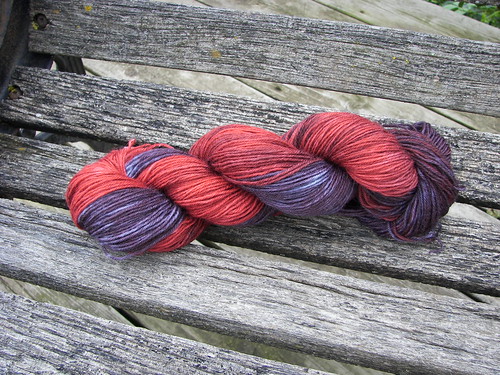
*Once it's dry, it's ready to use. You can name your yarn too. :D I call this Vampire's Kiss.
Stove-Top Method
Supplies
*animal fiber yarn (I used wool)
*large pot
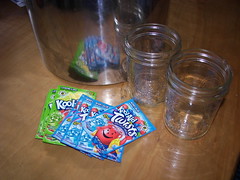
*kool-aid (I used 4 envelopes of Berry Blue & 4 of Lemon-Lime)
*jar/glass/measuring cup - anything that will hold at least 1 cup of water - 1 for each color used
*medium to large bowl
*gloves (optional)
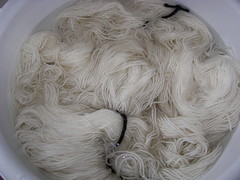
*Using lukewarm water, fill your bowl up enough to cover your wool. Place wool in the bowl & hold it down to get all the air bubbles out of it. The more air bubbles you get out, the more color your yarn will absorb. Let it soak for about 20 minutes.
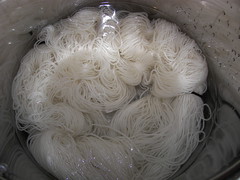
*Transfer yarn & water from bowl to pan. Turn on your stove to bring the water to a simmer. You want it to be hot but not boiling.
*Mix 1 cup of water with your packets of kool-aid. Make sure it's dissolved. Pour in spots on your yarn like below.
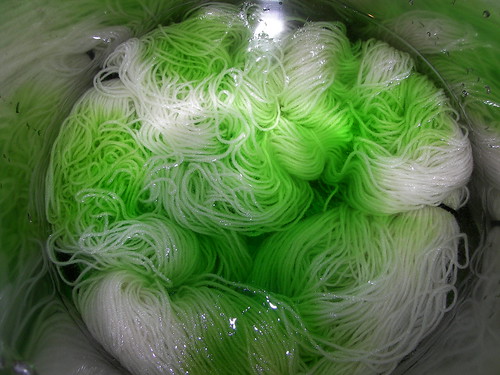
*Repeat with other color.
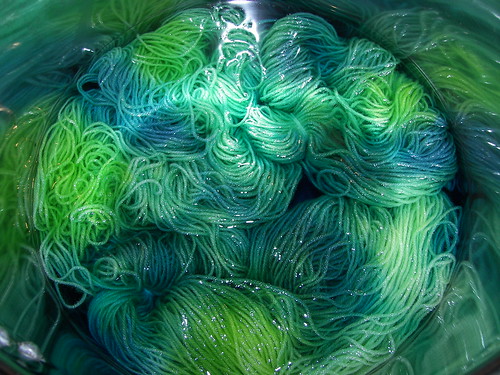
*Cook your yarn until the water turns clear. Mine took about 30 minutes to 1 hour. The time will depend on how many packets of kool-aid you used. Rinse your yarn with lukewarm water to make sure all the color is gone.
*Squeeze out water & put on drying rack or hang with a bucket underneath.

*When it's dry, use it for your next crochet/knitting project. Oh & don't forget to name it. This one reminds me of the forest surrounding Forks, so it's Forks Forest.
Bowl Method
Supplies
*animal fiber yarn (I used wool)
*2 medium bowls (must be able to fit both in your microwave)
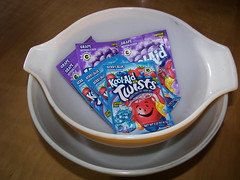
*kool-aid (I used 4 envelopes of Berry Blue & 4 of Grape)
*gloves (optional)
*Using lukewarm water, fill your bowl up enough to cover your wool. Place wool in the bowl & hold it down to get all the air bubbles out of it. The more air bubbles you get out, the more color your yarn will absorb. Let it soak for about 20 minutes
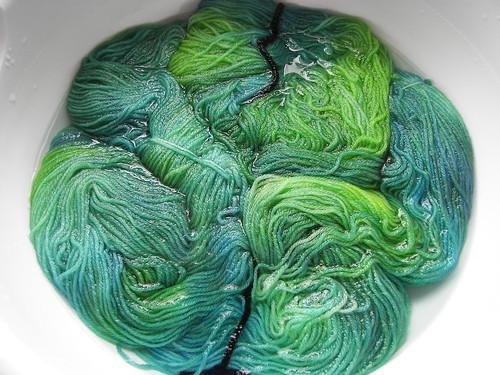
*Put on your gloves & put lukewarm water, about 4 to 5 cups, into each of the bowls. Add your kool-aid packets to each bowl & mix to dissolve the kool-aid.


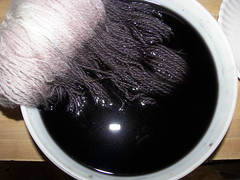
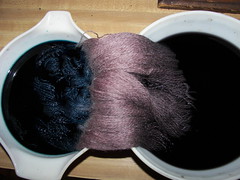
*Gently squeeze the water out of your yarn. Put half of it in one bowl & the other half in the other bowl. You will have to dip the middle uncolored part of the yarn in one of the sides to get the color on it.
*Now here's the tricky part, move the bowls into the microwave. :D Microwave for 2 minutes, let rest for 1-2 minutes. Do this until the water is clear. Once the water is clear, let cool for a couple of hours. Once cooled, rinse out with water that is the same temp as the yarn. When water runs clear, squeeze out excess water & dry.
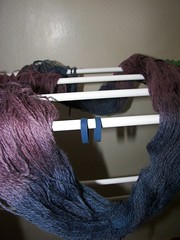
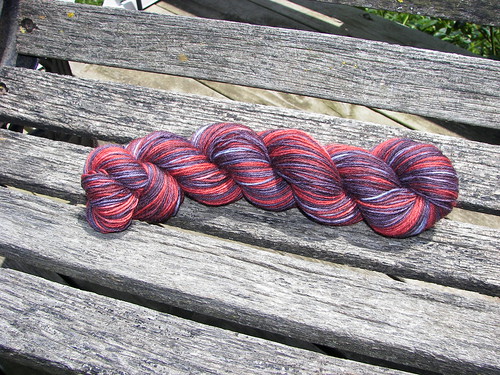
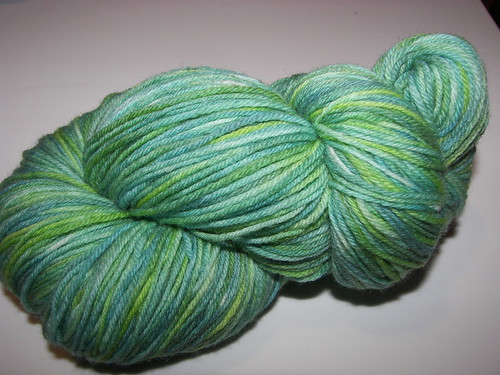
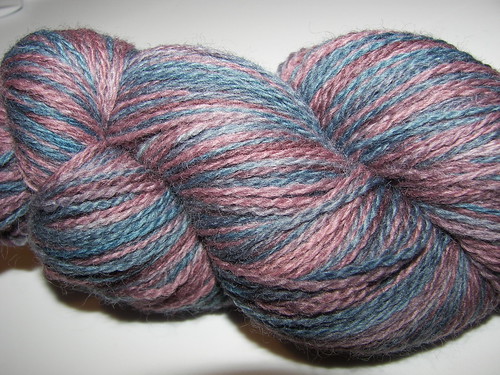
*Enjoy your yarn & name it. This one is Twilight Haze.
I hope you will give dyeing a try. It's a blast & you really never know what you're gonna end up with. Beware it can be very addictive. Don't ask me how many kool-aid packets I have. ;D